Thankfully, after only a month of having a working permit, Simon is now officially a working man! It's tough to say what has been the most exciting part of our lives recently: Simon getting his working permit after MONTHS of waiting, or him getting a job after not much waiting at all! Either way, we are truly blessed and God is faithful!
So, the details:
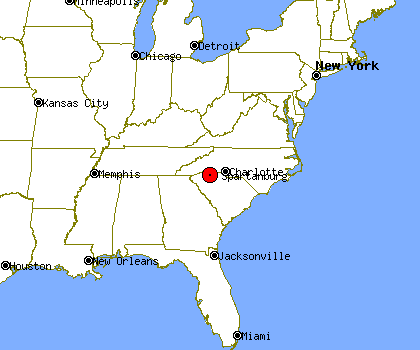
WHERE? Spartanburg, South Carolina
As you may have guessed, we are STOKED!! It all happened over the course of just a couple of days from the applying to the hiring so it was a little unexpected, which made it all the more exciting.
All of this is changing our life immediately. You may be aware that this is being posted on May 5th. Therefore, May 14th is JUST around the corner and we currently live in Texas.... (Which is NOT close to South Carolina).
So, we began frantically searching for reasonably priced apartments close to Simon's new job and trying to plan how we will move our belongings from our storage unit... in Arkansas.
We, more or less, have a game plan now. Simon will be traveling to Little Rock and, with the help of my dad, loading up our stuff. Then, he'll travel to SC and move us into an apartment. We hope to have pre-arranged the apartment details by early this week so that whole thing will be as smooth as possible.
We also will be buying a second car to make the move possible and because it will be necessary to have two cars if we are both working once we're settled.
I will be remaining at my job, as a nanny, until the kids are out of school. I don't want to leave them nanny-less, especially on such short notice. So, Simon will be making the move a couple of weeks before me and then I will follow him up there at the end of May; giving the family time to find a summer nanny.
We're so so excited about what our future will hold and we are ready for the adventure of moving somewhere new (neither of us has ever been to SC) and starting a new chapter of our lives.
Thank you to everyone who has had us in their prayers!
South Carolina, here we come!


